

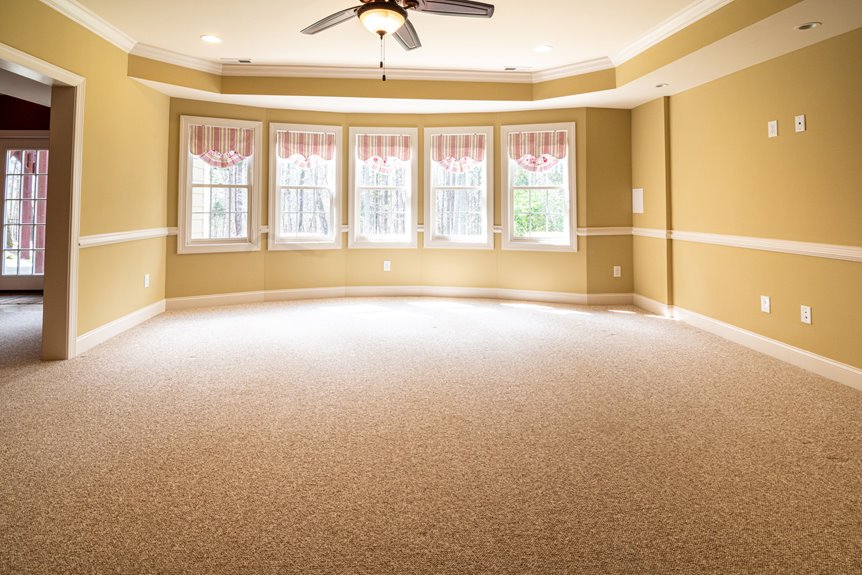
Baseboards collect dust and scuffs fast, but a quick routine keeps them looking fresh. Start by dry-dusting to remove loose debris, then wipe small sections with a damp cloth and mild cleaner. Use a toothbrush or magic eraser for stubborn marks and rinse cloths often. Work room by room to stay efficient and avoid re-soiling cleaned areas. With a few simple tools and a short plan, cleaning baseboards becomes a fast, repeatable task.
The Fastest Way to Clean Baseboards
In case you’re short on time, the fastest way to clean baseboards is to work from top to bottom with the right tools and a simple plan. You can save energy by dusting initially, then wiping in smooth passes so dirt doesn’t spread. Use fast tools like a microfiber cloth and a soft brush, because they lift grime without much effort.
Next, follow speed techniques such as one steady motion per section and quick changes to a clean cloth when it gets dirty. This keeps you moving and helps you feel in control, even on a busy day. Should your baseboards have corners, angle your hand lightly and keep going. You’re not chasing perfection here, just a fresh, cared-for look your home can wear proudly.
Gather Simple Baseboard Cleaning Tools
Before you start wiping, gather a small set of tools so the job feels easy instead of messy. You’ll move faster whenever everything sits within reach, and you won’t feel like you’re hunting for supplies mid-task.
| Tool | Why you need it |
|---|---|
| Cordless duster | Lifts loose dust fast |
| Microfiber cloth | Grabs fine dirt gently |
| Small bucket | Holds warm cleaning mix |
| Ergonomic gloves | Keep your hands comfy |
Keep these basics nearby, and you’ll feel ready, not rushed. A cordless duster helps you cover more ground with less effort, while a soft cloth handles corners and trim details. Put on ergonomic gloves should you want extra grip and comfort. Whenever your tools are simple and organized, you join the task with confidence and make the work feel lighter.
Dust Baseboards Before You Wet Them
Before you wet the baseboards, dry dust them initially so you don’t turn loose grit into sticky mud.
Use a microfiber cloth because it grabs dust well and helps you move fast without scratching the paint.
As you wipe, remove loose debris from corners and along the trim so the next cleaning step feels easier and much less messy.
Dry Dust First
Start through dry dusting the baseboards so you don’t just smear grime around once the water comes out. You’ll save time and keep the job calmer. Use a dry cloth, broom, or vacuum brush to lift loose dirt initially. That simple step helps cut airborne allergens and keeps dust from drifting back onto your floors.
Should you be doing your seasonal rotation of chores, make this the primary move before any damp cleaning. Work in short sections, and follow the wall line so you don’t miss corners or trim edges. As you remove the loose layer now, the next wipe goes faster and feels easier.
You’re not behind, and you don’t need perfection. You just need a clean start, and that makes the whole room feel cared for.
Use Microfiber Cloth
A microfiber cloth makes this job much easier because it grabs fine dust instead of pushing it around. You can trust it to lift the thin layer that settles on baseboards and leaves your room looking cared for.
Whenever you use gentle, even strokes, you protect painted trim and keep the surface ready for the next step. That’s where microfiber maintenance matters, because a clean cloth works better and feels better in your hand.
For a quick fabric comparison, microfiber beats cotton here since it traps dust with less effort. In case the cloth starts to look gray, switch to a fresh one so you keep that tidy feeling. You’re not just cleaning trim, you’re making your whole space feel more welcoming.
Remove Loose Debris
Dust the baseboards initially so you’re not turning dry dirt into muddy streaks. Whenever you clear away loose debris initially, you make the rest of the job faster and kinder to your space. A dry microfiber cloth, soft brush, or vacuum attachment can lift dust, pet dander, and crumbs before any damp wiping starts. That matters provided you deal with dust allergies, because stirring less dust means you can breathe easier.
| Tool | Best use |
|---|---|
| Microfiber cloth | Grabs fine dust |
| Soft brush | Reaches grooves |
| Vacuum nozzle | Picks up pet hair |
Work from one end of the room to the other so you don’t miss spots. In case the dust keeps falling, hold the cloth under the edge and move slowly. You’re not just cleaning; you’re making the room feel calmer and more cared for.
Wipe Baseboards With a Gentle Cleaner
Mix a few drops of mild cleaner with warm water so you get a gentle solution that can lift grime without harming the finish.
Then wipe each baseboard with a soft cloth, using light pressure so you clean away dirt without leaving scratches or dull spots.
In case you work slowly, you’ll keep the trim looking fresh and avoid turning a quick chore into a frustrating one.
Gentle Cleaner Mix
For a quick, safe clean, start with a gentle cleaner that won’t leave your baseboards sticky or dull. You can make an eco friendly solution with warm water, a drop of mild soap, and a few drops of essential oils should you like a fresh scent. This mix keeps your space feeling cared for, and it’s kind to busy homes.
- Dip a soft cloth in the mix and wring it out well.
- Wipe one small section at a time so you stay in control.
- Rinse the cloth often, then keep going with light, even strokes.
You’ll move faster whenever your cleaner feels simple and familiar. Plus, a calm routine helps your rooms look neat without turning cleanup into a big chore.
Wipe Without Damage
Now that your gentle cleaner is ready, you can wipe the baseboards without worrying about scuffs or sticky residue. Start with a soft microfiber cloth, then dampen it lightly so it feels just moist, not soggy.
Work in small sections, and use surface safe techniques with smooth strokes along the trim. Should you spot dust in corners, fold the cloth and guide it into the edges with care.
Check material compatibility before you press harder, especially on painted wood or vinyl. That little pause can save you from a tired-looking finish later.
Rinse and wring the cloth as needed, then dry each spot right away. You’re not just cleaning; you’re keeping your home looking cared for, and that feels good.
Remove Scuffs and Stubborn Marks
Scuffs have a sneaky way of showing up on baseboards, but they don’t have to stay there. You can clear most marks with a damp microfiber cloth, then move to a gentle cleaner whenever the spot still clings. Stay calm; you’re not the only one fighting these little streaks.
- Rub a clean eraser on light shoe marks.
- Mix mild soap and water for stubborn grime.
- Use a baking soda paste for tougher scuffs, then wipe dry.
If you spot dark transfer marks, try careful shoe polish removal with a soft cloth. For ink-like blotches, use a tiny amount of rubbing alcohol and trial initially. Whenever a mark looks more like a wall tag, graffiti restoration methods can help, but you’ll still want to keep pressure light so your baseboards stay smooth and welcoming.
Clean Baseboards Without Kneeling
In case bending down makes baseboard cleaning feel like a workout you never signed up for, you’re not stuck with that routine. You can stay upright and still get a clean edge with ergonomic standing methods.
Start by attaching an extendable duster or microfiber tool, then glide it along the trim in slow, steady passes. Next, dust from one corner to the other so you don’t miss concealed buildup.
Provided grime clings, lightly dampen the cloth and wipe again while you stand tall. Then move room to room, keeping your grip relaxed and your shoulders loose.
This simple approach helps you protect your back and keep the job moving. You’ll feel like part of the clean-home crowd without crawling across the floor.
Clean Painted, Wood, and Vinyl Baseboards
Painted, wood, and vinyl baseboards each need a slightly different touch, so you can clean them well without risking scuffs or dull spots.
For painted trim, you should use a soft cloth and a mild cleaner, while wood baseboards do best with gentle dusting and a wood-safe product.
Vinyl baseboards are the easiest of the three, and a quick wipe with warm soapy water can leave them looking fresh fast.
Painted Baseboards
Baseboards can go from neat to dingy fast, but a quick cleaning routine can bring them back without much fuss. For painted baseboards, you want gentle care that protects the finish and keeps your room looking bright.
Start with a soft cloth and warm, soapy water, then work in small sections so you don’t miss spots.
- Dust initially to lift grit.
- Wipe with a damp microfiber cloth.
- Dry right away to stop streaks.
If you notice dull spots, use a little extra pressure, not harsh cleaner. That helps with color matching across touchy areas and supports gloss restoration without making the paint look patchy.
With a few calm steps, you can keep your home feeling cared for and welcoming, one clean line at a time.
Wood And Vinyl Care
Wood and vinyl baseboards need a slightly different touch, but you can still clean them quickly without turning it into a chore. Start with a soft cloth and warm, soapy water, then wipe gently along the grain on wood and in smooth strokes on vinyl.
For sticky spots, let the damp cloth rest for a few seconds before you lift the grime. Dry each section right away so moisture doesn’t sneak in.
For wood maintenance, use a cleaner made for sealed surfaces and avoid soaking the trim. For vinyl restoration, a little baking soda paste can brighten scuffs without harsh scrubbing.
As you move room to room, your baseboards stay neat, and you keep that polished, cared-for feeling with far less effort.
Clean Baseboards Room by Room
Start in one room and finish it before you move on, because that simple plan keeps baseboard cleaning from feeling like a huge chore. You’ll feel more in control when you break the job into small wins. In each space, look at furniture placement initially, then work around chairs, tables, and beds without rushing. That keeps you from missing corners.
- Dust the edge with a dry cloth.
- Wipe with a damp cloth and mild cleaner.
- Check baseboards again after seasonal rotation, since moved items can reveal concealed dirt.
Move from the main room to bedrooms, then halls, so your effort builds cleanly. Should one room feels messier, stay with it a little longer. You’re not behind. You’re making each room feel cared for, and that matters.
Keep Dust Off Baseboards Longer
You can keep dust off your baseboards longer with a few small habits that work quietly in the background. Use air purifiers in busy rooms, since they trap floating dust before it lands. Pair that with regular vacuuming, and you’ll feel like your home is staying fresh with less effort.
| Habit | Why it helps |
|---|---|
| Run air purifiers | Cuts airborne dust |
| Wipe floors often | Stops dust buildup |
| Use anti static sprays | Helps dust slide off |
| Keep shoes at the door | Brings in less dirt |
| Brush pets near entry | Reduces loose fur |
Also, choose anti static sprays for baseboards and nearby trim. They help dust cling less, so your cleaning lasts. Once you build these simple routines together, your space feels easier to care for, and you stay part of the clean-home club without extra stress.
Fix Common Baseboard Cleaning Mistakes
Even a quick baseboard cleaning can go sideways should the wrong habits sneak in. You’re not alone in case scuffs linger or paint dulls; a few simple fixes can help you feel back on track.
- Don’t soak the trim. Too much water can warp wood and weaken protective coatings, so use a damp cloth instead.
- Skip harsh scrubbers. They can scratch the finish and turn tiny marks into obvious streaks. A soft brush works better.
- Wipe with the grain. That small move helps you lift dirt cleanly and keeps the look neat during seasonal maintenance.
Should grime still clings, pause and switch to a mild cleaner, then dry the area right away. That quick reset saves time and keeps your home looking cared for, which feels good for everyone who lives there.
Follow a Quick Baseboard Cleaning Routine
A quick baseboard routine works best whenever you break the job into a few easy passes, because that keeps the work from piling up and helps the trim stay fresh without eating your whole afternoon.
Initially, dust along the top edge with a microfiber cloth or a dry mop. Then mix warm water with a little soap and wipe each board from one end to the other. In case you spot sticky marks, give them extra attention right away. That kind of spot maintenance saves you from bigger scrubbing later.
Next, check corners and around doors, where dirt likes to hide. For speed cleaning, work room by room and keep your supplies close so you can move fast and stay on track.
Whenever you keep this simple rhythm, your home feels cared for, and you do too.
Frequently Asked Questions
How Often Should Baseboards Be Deep Cleaned?
You should deep clean your baseboards every season, or about four times a year, to keep stains at bay and feel right at home in your space. If you have pets, dust, or kids, clean them more often.
Can I Use Vinegar on All Baseboard Materials?
No, you cannot use vinegar on all baseboards. It can damage natural stone and dull painted wood. About 60% of homes mix materials, so check first and then choose a gentle cleaner everyone can trust.
What Causes Baseboards to Get Dirty so Fast?
You see dust accumulation, pet hair, cooking residues, and humidity staining because airflow and foot traffic keep sweeping debris onto baseboards, so you are not alone; every home’s edges grab grime fast, especially near kitchens and doors.
Should I Clean Baseboards Before or After Vacuuming?
You should clean baseboards after vacuuming, so you don’t kick dust back onto them. If you are sweeping too, clean baseboards before sweeping and before mopping, then finish with a quick wipe for a fresher, together feel home.
How Do I Clean Textured Baseboards Safely?
You can clean textured baseboards safely using a microfiber mitt, a texture-safe cleaner, and low pressure. Gently scrub grooves, wipe dry, and keep it easy—you’ve got this, and your home will feel cared for.



