

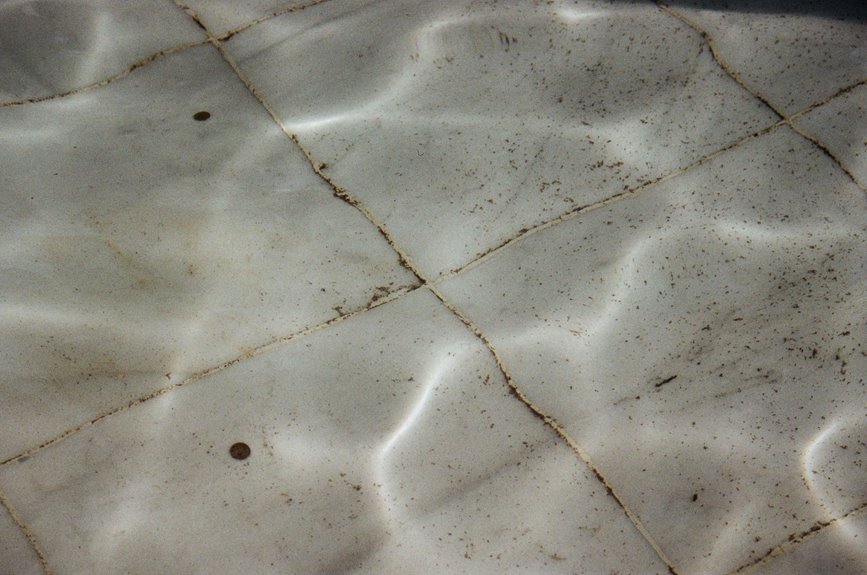
Black grout usually comes from mold, mildew, dirt, or old grout sealant wearing away. Regular cleaning with the right products removes surface buildup and kills mold spores. Stubborn stains require stronger cleaners or grout scrubbing tools to restore color. Sealing grout after cleaning slows return of stains and reduces moisture penetration. This guide explains causes, safe cleaners, targeted treatments, and simple maintenance steps to keep grout looking fresh.
How to Remove Black Stains From Grout
Start through figuring out why the grout turned black, because the right fix depends on the cause. Then you can clean with confidence and feel like the room is yours again.
Mix warm water with a little dish soap, scrub the lines with a soft brush, and rinse well. In case the stain stays, use baking soda paste or a grout-safe cleaner and let it sit before scrubbing again.
For tougher spots, try oxygen bleach on a concealed area initially. Keep the space dry after cleaning, since mildew prevention starts with airflow and quick wipe downs.
Should the color remains uneven, grout dyeing can refresh the lines and make them look uniform. With steady care, you can bring back a cleaner, brighter space that feels welcoming.
What Causes Black Grout Stains?
Black grout stains usually show up while moisture, dirt, and soap scum settle into the grout lines and stay there.
Whenever you shower, mop, or cook, tiny bits can slip into those porous spaces and build up fast.
Should your home feels damp, mildew spores can grow there too, turning light grout dark and spotty.
The grout composition matters as well, because some mixes absorb water more easily than others.
Over time, that trapped grime clings tight, and everyday cleaning mightn’t reach it.
You’re not confronting a personal failure here; grout just acts like a little sponge.
Once you know what feeds the stains, you can feel more in control and ready to tackle them with confidence.
Gather the Cleaning Supplies You Need
Before you scrub, set your supplies within reach so the job feels calm and manageable. You’ll want rubber gloves, microfiber cloths, a soft brush, a small bowl, warm water, and a mild cleaner. Keep a bucket nearby too, so you can rinse tools without wandering off mid-task.
In case you’ve got a fan or open window, use it for fresh air. Then, lay everything on a towel beside the tile. This simple setup helps you stay steady and keeps the mess from spreading.
You’re not doing this alone in spirit, either, because a tidy prep space makes the whole job feel more doable. With your tools ready, you’re able to move into cleaning without stress and focus on the grout, not the scramble.
Remove Black Grout Stains With Baking Soda
With your supplies close beside, baking soda can do the heavy lifting on those stubborn grout stains. Mix it with a little water until you get a thick paste, then spread it over the dark lines. Let it sit for 10 minutes so it can loosen grime without much effort from you.
After that, scrub gently with a soft brush in small circles. You’ll see the paste start to lift the stain while also helping with odor neutralizing in damp spots. Should the grout still look dull, add a bit more paste and repeat the scrub. Then wipe the area clean with a damp cloth. This simple step gives you steady surface polishing and helps your space feel fresher and brighter.
Use Vinegar Safely on Grout Stains
You can use vinegar on grout stains, but you should mix it with equal parts water initially so it stays gentle.
Then spray or dab the solution on the stained grout, let it sit for a few minutes, and scrub softly with a brush.
After that, rinse the area well with clean water so you protect the grout and keep the finish looking clean.
Vinegar Dilution Ratio
A safe vinegar mix can help loosen black grout stains without wearing down the grout, as long as you dilute it the right way.
For most homes, a 1:1 mix of white vinegar and warm water gives you enough cleaning power without being too harsh.
Should your grout be older or a bit crumbly, lean gentler and use more water.
You might hear dilution myths that say stronger vinegar always works better, but that can backfire fast.
Try ratio experiments only with small changes, so you can find a mix that fits your space and keeps you comfortable.
Whenever you choose a balanced ratio, you protect the grout and still get solid stain-fighting help.
That’s a smart win for your home and your peace of mind.
Safe Application Steps
Once you’ve mixed the vinegar, start upon examining it on a small, concealed spot so you can check for any reaction before you treat the whole stain.
Then put on protective clothing, including gloves, and keep the room airy.
Next, dampen the grout lightly with water so the vinegar moves more evenly and won’t sit too harshly.
After that, apply the solution with a cloth or soft brush, and let it rest for a few minutes.
During that time, you support safe chemical neutralization without scrubbing too hard.
Then wipe the area with clean water and check the color.
Should the stain stays, repeat the process once more.
Finally, dry the grout well so moisture doesn’t invite new grime.
Try Hydrogen Peroxide for Stubborn Stains
As dark stains cling to grout after scrubbing has failed, hydrogen peroxide can step in as a stronger, gentler next move.
You can mix it into a small paste or use it straight on the spot, then let it sit so stain chemistry has time to loosen the grime.
For peroxide safety, examine a concealed area initially and keep the room airy.
You don’t need to rush, because patience helps the stain decompose without extra effort from you.
Afterward, wipe the area clean and check whether the color looks brighter.
Should you keep some on hand, follow storage tips alongside sealing the bottle tightly and keeping it away from heat and light.
That way, you’re ready once the next stubborn mark shows up.
Scrub Grout Safely Without Damaging Tile
Now that the stain is loosened, you need to scrub with a light touch so you clean the grout without scratching the tile. Use gentle scrubbing with soft bristle brushes, and keep your hand steady. You’re not fighting the floor; you’re helping it look cared for again.
| What you do | What you feel |
|---|---|
| Use small circles | Calm |
| Rinse often | Relief |
| Check your pressure | Confidence |
| Work in short passes | Control |
| Stop once the grout looks clean | Self-respect |
If a spot stays dark, let the cleaner sit a little longer, then try again. That way, you stay in control and protect the tile you live with every day. With patience, your grout can look brighter, and your space can feel like home again.
Remove Black Mold Stains From Grout
At the time black mold stains show up in grout, you need to treat them with extra care so you clean the surface without spreading spores or damaging the tile.
Start by opening windows and using fans, because smart ventilation strategies help keep the air moving while you work.
Then wet the grout lightly and gently scrub the dark lines with a soft brush, staying focused on the stained spots only.
Keep an eye on humidity monitoring, since damp air can let mold return fast, almost like it owns the place.
After cleaning, rinse the area well and dry it completely with a towel or fan.
You’ll feel better appreciating you’ve handled the mess with steady care, and your grout can start looking like part of your home again, not the forgotten corner.
When to Use Grout Cleaner or Bleach
Whenever the stains are light or fresh, you can often start with a grout cleaner because it lifts grime without being too harsh.
Should the black marks stay put, bleach can help with stubborn discoloration, but you need to use it carefully so you don’t damage the grout or irritate your skin.
Always try a small spot initially, then work in a well-ventilated area and wear gloves to keep the process safe.
Grout Cleaner Basics
A little smart timing can save your grout from a lot of extra scrubbing. You should reach for a grout cleaner whenever the lines look dull, dirty, or lightly stained, but the tile still feels sound.
Let it soak, then scrub gently so you don’t rough up the surface your family walks on every day. In case you’ve already sealed the grout, check the label initially, because some cleaners can weaken the grout sealer.
And should you be considering a grout colorant later, keep the cleaner mild so it won’t leave behind residue that blocks even coverage. At the outset you clean this way, you protect the grout you share with your home and keep the next repair step simpler.
Bleach For Stains
Should plain grout cleaner hasn’t lifted the black marks, bleach could help with deeper stains that sit in the grout’s pores. You can reach for it whenever the grout still looks dull after a normal scrub. In case the stains stay put, bleach can give you a stronger reset and help your tile feel fresh again.
Still, you don’t need to jump there initially. Many people do better with bleach alternatives whenever the marks are light or the grout is older and sensitive. Consider bleach as the next step, not the initial one.
With the right bleach dilution, you can target stubborn discoloration without going overboard. That balance helps you stay in control and feel good about the space you’re caring for.
Safe Application Tips
For safe results, start with the gentlest cleaner that matches the stain, then move up only should the grout still looks dark. You’ll protect your space and your peace of mind.
- Try a small spot initially so you don’t surprise yourself later.
- Use natural ventilation through opening windows and running a fan.
- Wear protective clothing, including gloves and long sleeves.
- Choose grout cleaner for light buildup, then use bleach only on stubborn black marks.
When you switch products, rinse the area well so chemicals don’t mix. Also, keep kids and pets away until the grout dries. Should you smell strong fumes, step back and let fresh air do its job. You’re not alone in this; a careful pace helps you get cleaner grout without extra stress.
Seal Grout to Prevent New Stains
Once you’ve scrubbed away the black stains, sealing the grout is the next smart move because it helps stop new marks from sinking in.
You can choose a waterproof sealer or a grout impregnator, and both work through filling tiny pores before spills and grime move in.
Apply it to clean, dry grout with a small brush or applicator, then wipe the tile surface so only the lines stay protected.
Let it cure for the time listed on the label, even provided your room looks ready sooner. That waiting time pays off.
Whenever you seal your grout, you give your space a fresher look and a stronger shield. It’s a simple step, and it helps you keep that just-cleaned feeling around longer without much fuss.
Keep Grout Clean With Daily Habits
Keeping grout clean every day saves you from a bigger scrub later, and that little habit can make a surprising difference.
You’re not fighting the whole problem alone; you’re building a clean routine your home can lean upon.
- Do daily sweeping to catch dirt before it settles into grout lines.
- Wipe spills fast so stains don’t get a chance to set.
- Use moisture control in bathrooms and kitchens through running fans and opening windows.
- Dry tiles after showers or mopping to keep grout from staying damp.
When you stay on top of these small steps, your floors look brighter, and the whole room feels fresher.
That kind of care helps you feel proud of your space, and it makes cleaning feel less like a chore.
Frequently Asked Questions
How Often Should Grout Be Sealed?
You should seal grout every one to two years depending on traffic and moisture. For solid grout maintenance check sealing frequency yearly so you keep your surfaces protected and feel confident together with your space.
Can Colored Grout Be Cleaned the Same Way?
Yes, you can clean colored grout similarly, but try gentler cleaners initially because powerful products might fade the color. Follow color matching tips and avoid harsh scrubbing. If stains persist, consider grout dyeing methods to restore a cohesive look.
Will Steam Cleaning Remove Black Grout Stains?
Yes, you can try steam cleaning, but it will not always remove black grout stains. You need sufficient steam pressure and must check chemical compatibility carefully, or you may still need a deeper cleaner.
How Long Should Cleaners Sit on Grout?
You should let cleaners sit 5 to 10 minutes, following the label’s dwell time and product concentration. You’ll get better results if you stay patient, protect your grout, and clean with confidence together.
Can Black Stains Return After Cleaning?
Yes, black stains can return unless you address mold recurrence and moisture sources. You will keep your grout cleaner longer once you dry it well, improve ventilation, and stick with consistent upkeep.



